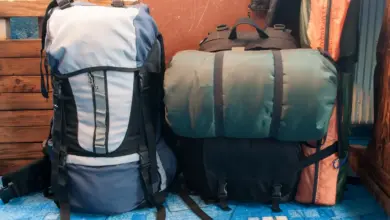
If you’re not used to carrying a lot of gear in your pack when hiking, then you might not have a lot of experience yet using the shock or bungee cords. The bungee cords on the back of your pack are actually quite useful for carrying extra gear like sleeping pads, rain jackets, cooking equipment, and lots of other items.
This article will cover:
- What your shock cords on your backpack are for
- How to use the bungee cords on your backpack
- How to replace or attach new shocks cords
- Shock cord alternatives that you can use instead
What Are Bungee Cords on Backpacks For?
Bungee or shock cords on backpacks are for securing additional gear that won’t fit inside your pack. Shock cords are also used to hold items that you want to quick access to such as clothing. They are especially useful when drying out wet items when hiking.
Sometimes you’re caring a lot of gear and just can’t fit everything in your pack. This is where shock cords come in. Especially for bulky items like blankets, pillows, sleeping pads, helmets, rope, and cooking pans. They can also hold longer items like trekking poles that can be tricky to attach to your pack. Sharp or pokey items like crampons are great to store outside too.
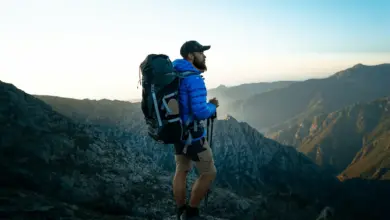
Another reason to attach items to your shock cords is for quick access. If you’re expecting a sudden downpour, attaching your rain jacket or gaiters to your bungees is a great way to get to it quickly without having to open your pack. Even if you’re just expecting to put on more layers when it’s cold, storing the items with the shock cords can also work.
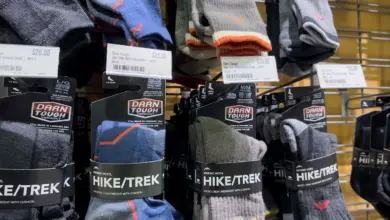
If you have wet, muddy, or smelly items that you don’t want to store in your pack, you can attach them to the outside as well. Wet items like rain jackets or smelly socks can all be aired out when you hike.
The good thing about shock cords is it allows you to carry more items even if you have a smaller pack. You don’t necessarily need to buy a larger pack if you can attach gear to the outside.
Attaching items with the shock cords are great because they will help secure items from bouncing around. If you’re attaching items with carabiners, they might swing back and forth or get snagged when hiking. The shock cord helps help keep everything secure.
Just make sure that whatever your carrying on the outside of your pack is secure. I’ve had experiences losing gear because it wasn’t properly attached!
You may also like Complete Guide to Backpacking Snow Shovels
Attaching a Shock Cord to Your Backpack
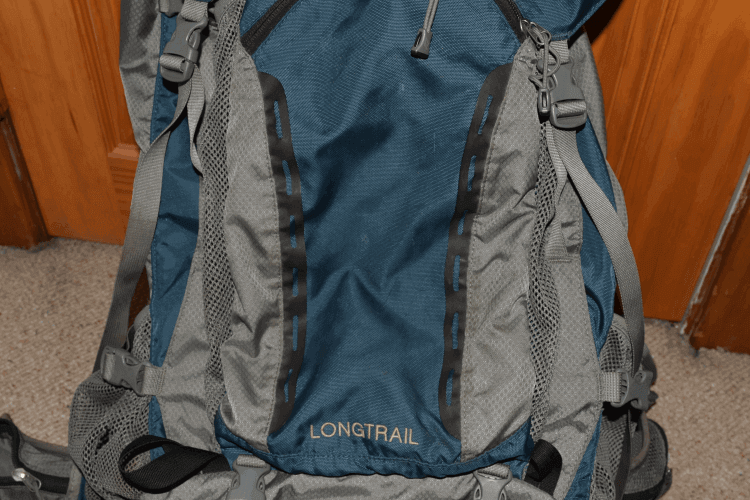
If you have a pack like mine, your pack might have slots for shock cord lashing but not the actual shock cord. The good news is you can add one as I did. This will also be a handy guide if you want to perform a shock cord replacement.
Even if you do have a shock cord already, you can add a longer shock cord so you can carry more gear.
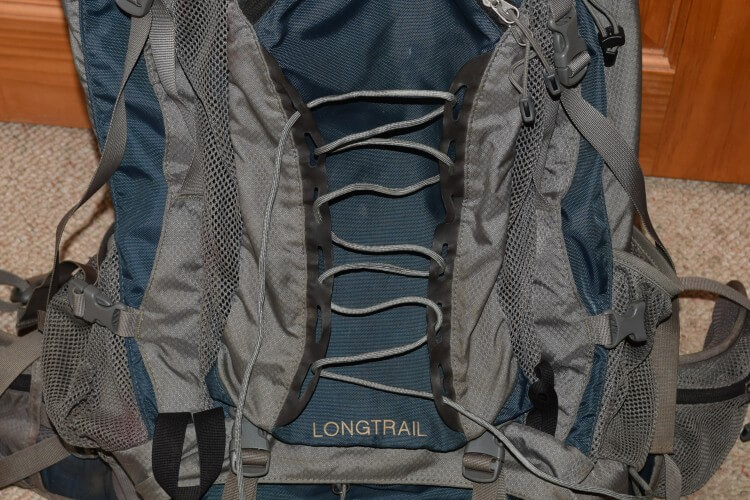
Here’s a picture of my EMS Long Trail 70L pack. You can see the lashing loops but no shock cord. Some packs, mine included, even have lashing loops on top of the pack to carry even more gear.
What I ended up doing is buying 1/8″ shock cord (25 ft) and 10 shock cord toggle stoppers. I ended up buying these from Amazon, but if you don’t care about the fancy colors and just want plain black, you can buy it by the foot from REI. I like to buy more than I need so I can use it for other projects.
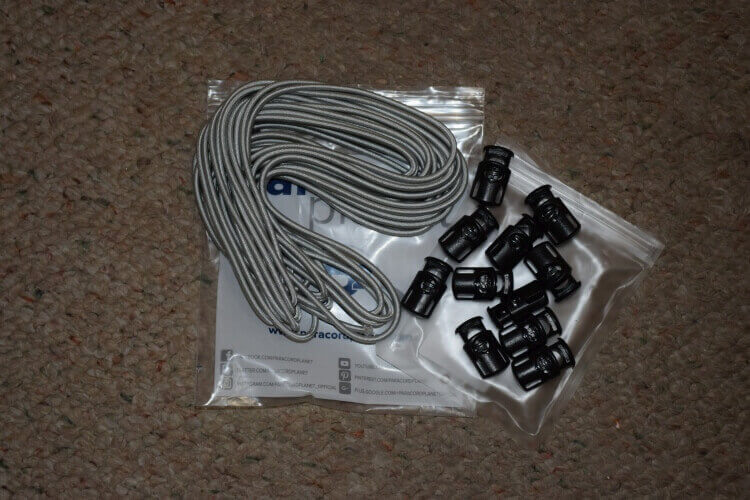
These toggles actually work really well. They don’t slip off at all and are easy to press. I attached two just in case I want to do any fancy lashings later on. I used about 4-5 feet of lashing. It’s best to measure it with your pack and use a little extra in case you are carrying bulky items.

You may also like How to Attach Sleeping Pad to Backpack
Lashing Designs
There are lots of different ways you can do lashings on your pack. Each design offers its own advantages. Experiment on your own and see what works for you and your gear.
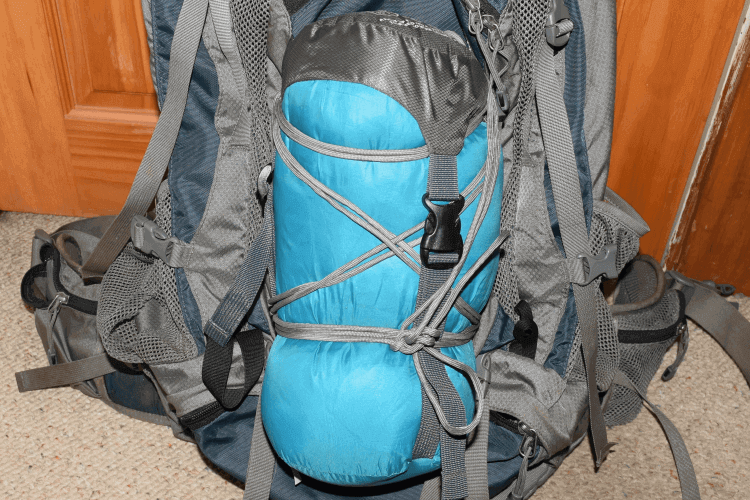
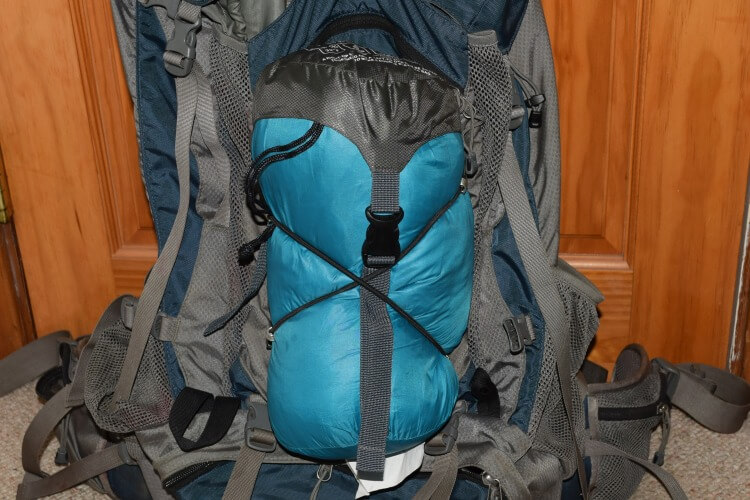
Cross / “X”
The design I like to use on bulky items is the cross. By crossing from opposite corner to opposite corner, you cover the most space on your gear. This design can be doubled or tripled for a more secure fit.

Switch Back
Thes switch back design is another option. This can be good when you have limited cordage. This can also work with shock cord when one end is anchored while the other end is adjustable.
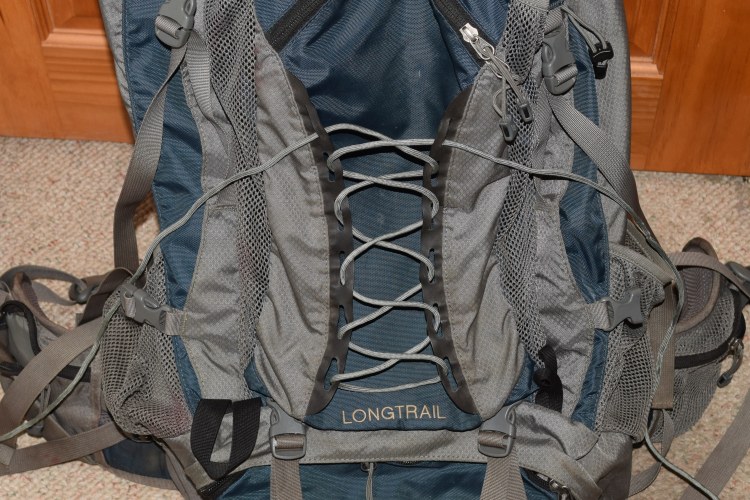
Criss Cross
The criss cross design is what most of us are used to seeing. This design is good for shock cords because it offers a snug fit with a lot of area covered by the cord.
You may also like Ways to Attach an Ice Axe to Your Pack
Lashing with Paracord
If you don’t have shock cords on your pack but have lashings, there are some alternatives you can use besides shock cords.
The first alternative is paracord. Paracord is light, strong, weather-resistant, and has a lot of survival uses over shock cords. It’s also a cheaper alternative. The downside is that it’s not elastic, meaning you might have to adjust it more often than a shock cord, but it’s not always a big deal.
Using paracord for your pack lashing is also multipurpose. For example, if you use a ridgeline for your tarp, you can use the same paracord as lashing, saving you a little bit of weight if you want to go ultralight.
When you’re using paracord for lashing gear to your pack, it’s better to have a lot of paracord than not enough. When you start lashing, you want to lash around the gear and tighten as you go. Don’t try to weave through the lashings first with the paracord and then try to fit your gear inside, it just won’t work. Any extra paracord hanging down can be tucked back into your pack.
You may also like Hiking Without a Backpack: 3 Pack Alternatives
Using Bungee Cords
Bungee cords are another option. While they can be more convenient, there are some downsides.
For advantages, bungee cords are stretchy. This is good when securing bulkier items like sleeping pads or pillows. The hooks at the end of the bungees are pretty easy to get on and off. You don’t have to undo a lot of lashing as you do with the paracord, making securing and undoing gear much easier and quicker.
The downside to using the bungee cords with hooks is that the hooks can come undone when you don’t want them to. You can’t exactly tie them, but you can use some plyers to narrow the gap so they come off less often. Bending hooks on the bungees will also prevent the metal hooks from poking and potentially hurting your gear. Plastic hooks are an option, but unlike metal hooks, you can’t bend them.

And yet another downside is that bungee cords are fixed length. It’s sometimes hard to make bungee cords fit every time due to the different size bungees and different pieces of gear. Even a little bit of slack and the bungee won’t be able to hold gear properly. For bulky items, 10-inch long bungees work great.
You may also like How to Cowboy Camp the Right Way
Lashing Tips
Here are some tips for lashing gear to your pack:
- If you attach anything to the outside of your pack, keep in mind the weather. Rains or river crossing mistakes could get your gear wet
- Secure items that have clips or cords, such as stuff bags, hammocks, etc, to the shock cord. If you accidentally take a dive or encounter snags, you don’t want your gear slipping out.
- Tuck in any straps or cordage behind the shock cord to prevent snags.